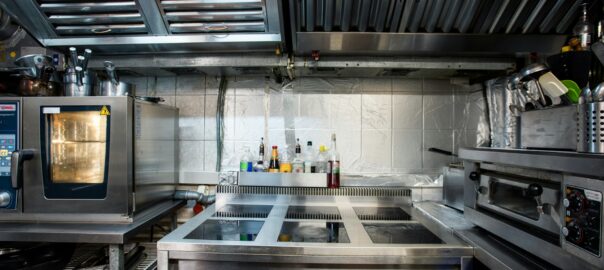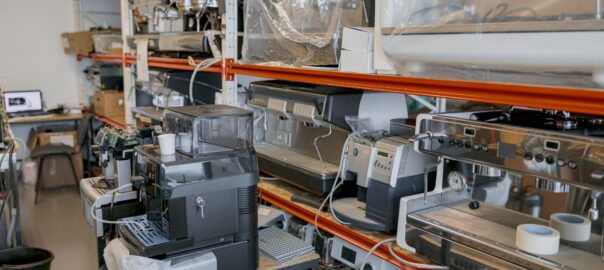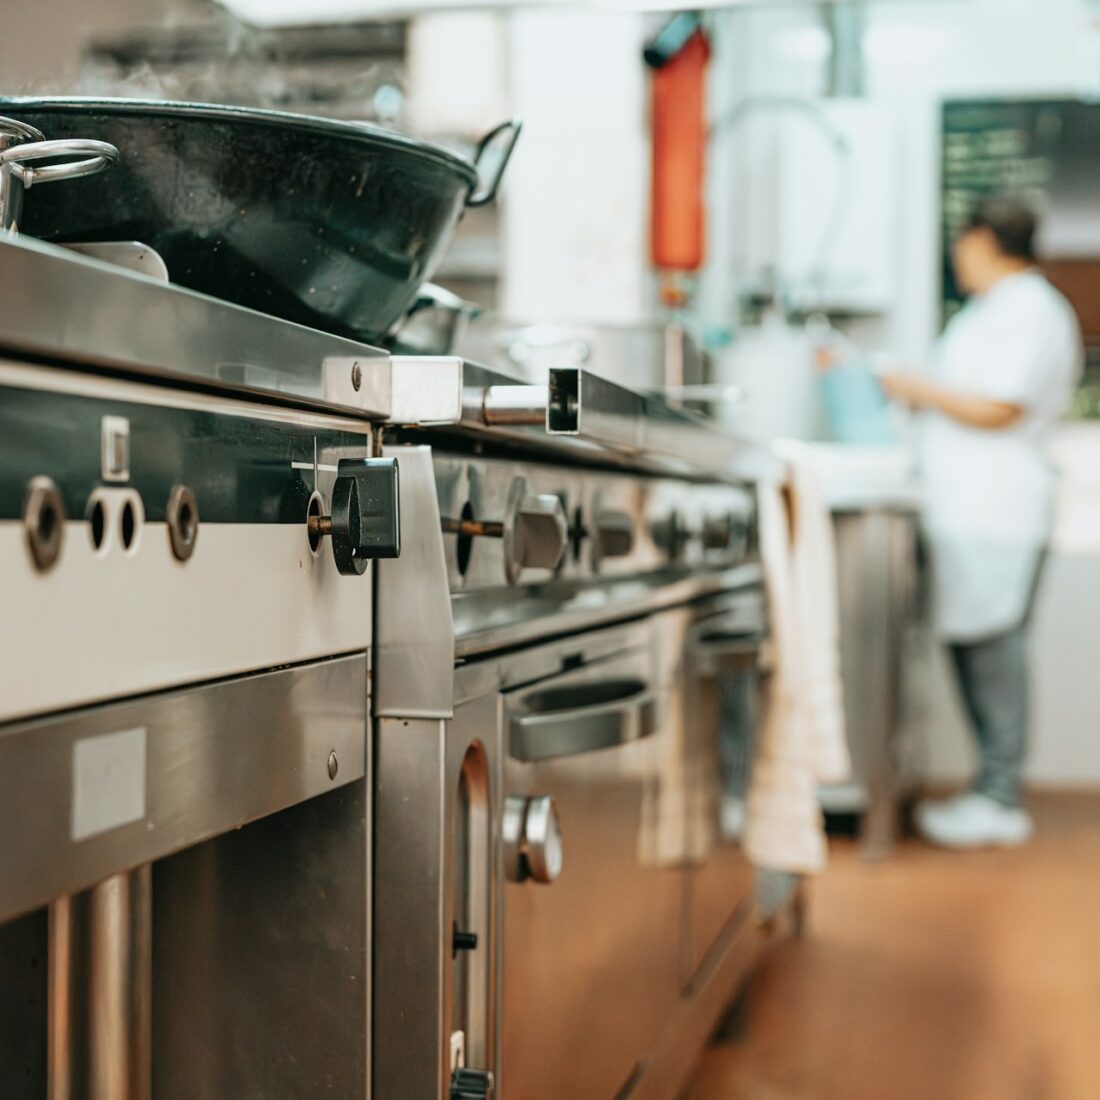
Restaurant equipment goes through a lot of wear and tear. Over time, it can start to look worn out and may not function as well as it used to. Buying new equipment can be expensive, but there’s good news: you can rehab your old supplies and make them wonderful again with a bit of effort and some useful tips.
First, it’s important to assess the condition of your equipment. Knowing what needs attention and what can be saved helps you plan your rehab project. This step ensures that you focus on the right areas and use your resources effectively.
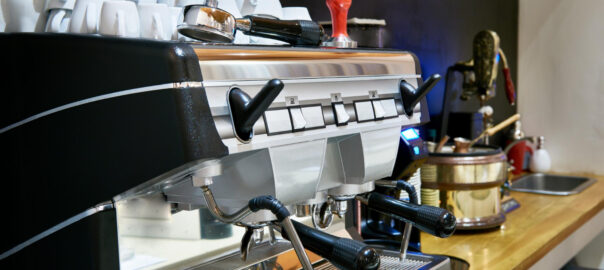
Next, cleaning and sanitizing are crucial. Dirty or rusty equipment doesn’t just look bad; it can also affect the quality of your food and the safety of your kitchen. Proper cleaning can bring back the shine and make your items look like new.
Simple repairs and regular maintenance can prolong the life of your equipment. Small fixes like tightening screws, replacing worn parts, and lubricating moving parts can make a big difference in performance and longevity.
Finally, repainting and refurbishing can give your equipment a fresh look. A new coat of paint or a thorough refurbishing job can turn worn-out supplies into wonderful assets that look great and work well.
By following these steps, you can rehab your well-worn restaurant supplies and save money while keeping your kitchen in top shape.
Assessing the Condition of Your Equipment
Before you begin rehabbing your equipment, it’s important to assess its current condition. This step helps you understand what each piece needs and prioritize your work.
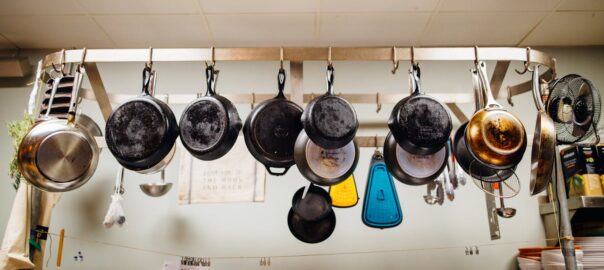
1. Visual Inspection: Start by visually inspecting each piece of equipment. Look for obvious signs of wear such as rust, dents, or cracks. Pay attention to moving parts and any areas that are prone to heavy use, as these are often the first to show damage.
2. Functionality Check: Test the functionality of your equipment. Plug in electrical items to ensure they still work. For mechanical items, check if they operate smoothly without any unusual noises. Identify which parts may need replacing or repairing.
3. Safety Assessment: Safety is paramount in any kitchen. Check for any safety hazards like frayed wires, loose screws, or unstable parts. Make sure all safety features, such as emergency shut-offs and guards, are functioning properly.
By thoroughly assessing your equipment, you can create a list of issues that need addressing. This evaluation will guide your rehab efforts and help you focus on what matters most.
Essential Cleaning and Sanitizing Tips
Cleaning and sanitizing your restaurant equipment is key to extending its life and ensuring it works well. Proper cleaning also helps maintain food safety standards.
1. Deep Cleaning: Begin with a deep clean of all your equipment. Use a mild detergent and warm water to scrub away grease, grime, and food particles. For stubborn spots, baking soda or vinegar can be effective. Don’t forget to clean crevices and hidden areas where dirt often accumulates.
2. Use Appropriate Cleaners: Different materials require different cleaning methods. Stainless steel can be cleaned with a mixture of water and vinegar, while cast iron may need special care to avoid rust. Always use cleaners that are safe for the material you are working with.
3. Sanitizing: After cleaning, sanitize your equipment to kill harmful bacteria. Use a food-safe sanitizer and follow the manufacturer’s instructions. Make sure to sanitize all surfaces that come into contact with food, including handles and knobs.
4. Routine Maintenance: Incorporate regular cleaning into your maintenance routine. Daily wiping and weekly deep cleaning can prevent buildup and keep your equipment in good shape.
5. Cleaning Schedules: Create a cleaning schedule for your staff to follow. This ensures that all equipment receives regular attention and helps maintain a clean and safe kitchen environment.
Proper cleaning and sanitizing not only improve the appearance of your equipment but also extend its life and keep your kitchen safe and efficient.
Simple Repairs and Maintenance Tricks
Making simple repairs and doing regular maintenance can keep your restaurant equipment in good working condition. This can save you money and extend the life of your supplies.
1. Tighten Screws and Bolts: Over time, screws and bolts can become loose. Check all connections and tighten any that are loose. This helps prevent unstable equipment and reduces the risk of damage or injury.
2. Lubricate Moving Parts: Equipment with moving parts, such as mixers and slicers, needs regular lubrication to function smoothly. Use food-safe lubricants and follow the manufacturer’s guidelines. Regular lubrication minimizes wear and tear and ensures efficient operation.
3. Replace Worn Parts: Identify parts that are worn out or damaged and replace them promptly. Items like gaskets, seals, and blades are common parts that need replacing. Keeping spare parts on hand can expedite this process.
4. Electrical Check: Inspect electrical cords and plugs for fraying or damage. Replace any faulty cords immediately to avoid electrical hazards. Ensure that all electrical components are working correctly.
5. Cleaning Filters and Vents: Regularly clean or replace filters and vents in ovens, fryers, and other equipment. Blocked filters and vents can cause equipment to overheat or work inefficiently.
Simple repairs and regular maintenance keep your equipment running smoothly and can prevent costly breakdowns.
Repainting and Refurbishing Techniques
Repainting and refurbishing your equipment can give it a new lease on life. This not only improves its appearance but also can protect it from further wear and tear.
1. Surface Preparation: Before repainting, clean the surfaces thoroughly. Remove rust, grease, and old paint using sandpaper, wire brushes, or chemical rust removers. Make sure the surface is smooth and free of debris.
2. Choose the Right Paint: Use paint designed for the type of material you’re working with. High-temperature paints are ideal for ovens and grills, while stainless steel paint works well on metal surfaces. Always follow the paint manufacturer’s instructions for the best results.
3. Apply Primer: Primer helps paint adhere better and provides a smooth base. Apply a thin, even coat of primer and let it dry completely before painting. This step is crucial for a durable and professional-looking finish.
4. Painting Technique: Apply the paint in thin, even coats. Use a brush, roller, or spray paint depending on the size and shape of the equipment. Allow each coat to dry fully before applying the next one. This ensures a smooth and glossy finish without drips or streaks.
5. Finishing Touches: Once the paint is fully dry, inspect your work for any missed spots or uneven areas. Touch up as needed to ensure a uniform appearance. Consider adding a clear protective coat for extra durability.
By following these repainting and refurbishing techniques, you can make your old equipment look new again and extend its lifespan.
Conclusion
Rehabbing your worn-out restaurant supplies can save you money and keep your kitchen running smoothly. By assessing the condition of your equipment, cleaning and sanitizing properly, making simple repairs, and applying fresh coats of paint, you can make your old supplies look and work like new. These steps not only improve the appearance and functionality of your equipment but also enhance the overall efficiency and safety of your kitchen.
Investing time in routine maintenance and refurbishing projects pays off by extending the lifespan of your equipment. It allows you to get the most out of your investments and delay the need for costly replacements. Consistently applying these techniques will create a more productive and pleasant working environment for your staff.
Want more tips on how to rehab your restaurant supplies or need help with buying and selling equipment? Visit Your Equipment Guys to explore the best solutions and get expert advice. Buy used restaurant equipment now!